Video Edit — layers, keyframes and effects
Open Video Edit →A motion-graphics compositor in the browser: stack tracks on a canvas, animate position, scale and rotation with eased keyframes, key out green screens, blend layers, add titles and colour cards — then render the whole stack in one pass. It pulls from your asset library, imports a Film Studio project as a ready rough cut, and every render lands back in the library for the rest of Grafy to use.
Walkthrough: rough cut to rendered edit
All edits, one shelf
The landing page lists your compositions with their canvas, clip count and running time. New edit asks only three things: a title, a canvas (landscape, vertical or square) and a frame rate.
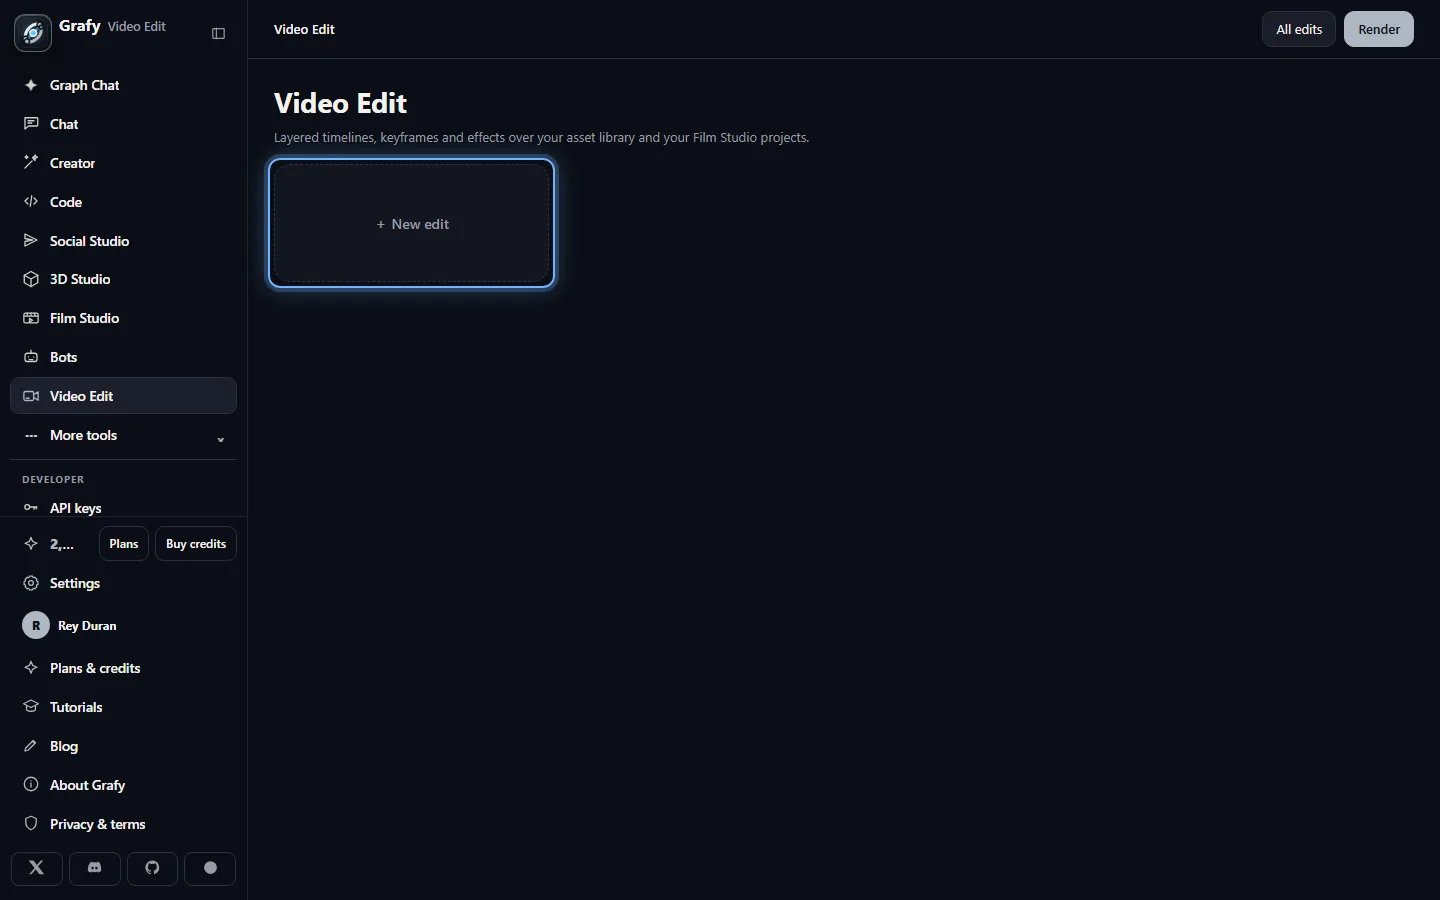
Import a film as a rough cut
Import from Film Studio lists your film projects. Pick one and its rendered shots arrive end-to-end on a video track with each scene's narration lined up on an audio track beneath, and the film's score — when one was generated — on a third track, already ducked to a bed level under the voice. A cut you can immediately reshape, not a bin of files: the clips are references to the film's own renders, so nothing is copied.
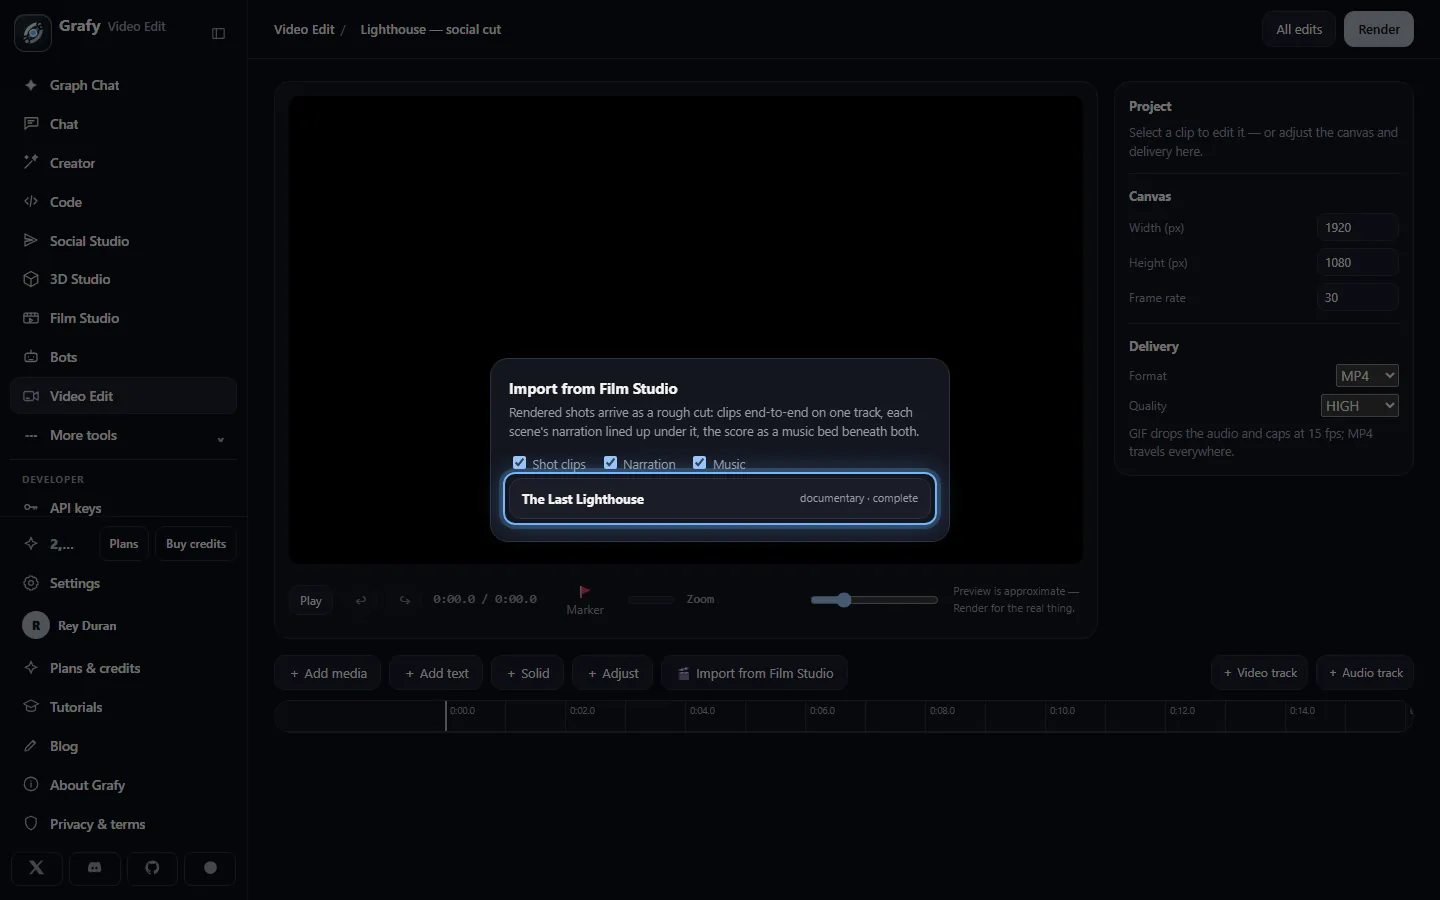
The working timeline
Video clips carry poster frames; audio clips their waveform and a draggable volume rubber band with keyframes and a live dB readout. Drag to move (edges snap to other clips and the playhead), drag the ends to trim, drag vertically to another track, press S to split at the playhead, M to drop a marker on the ruler, Shift+Delete to ripple-delete and close the gap. Undo and redo cover everything.
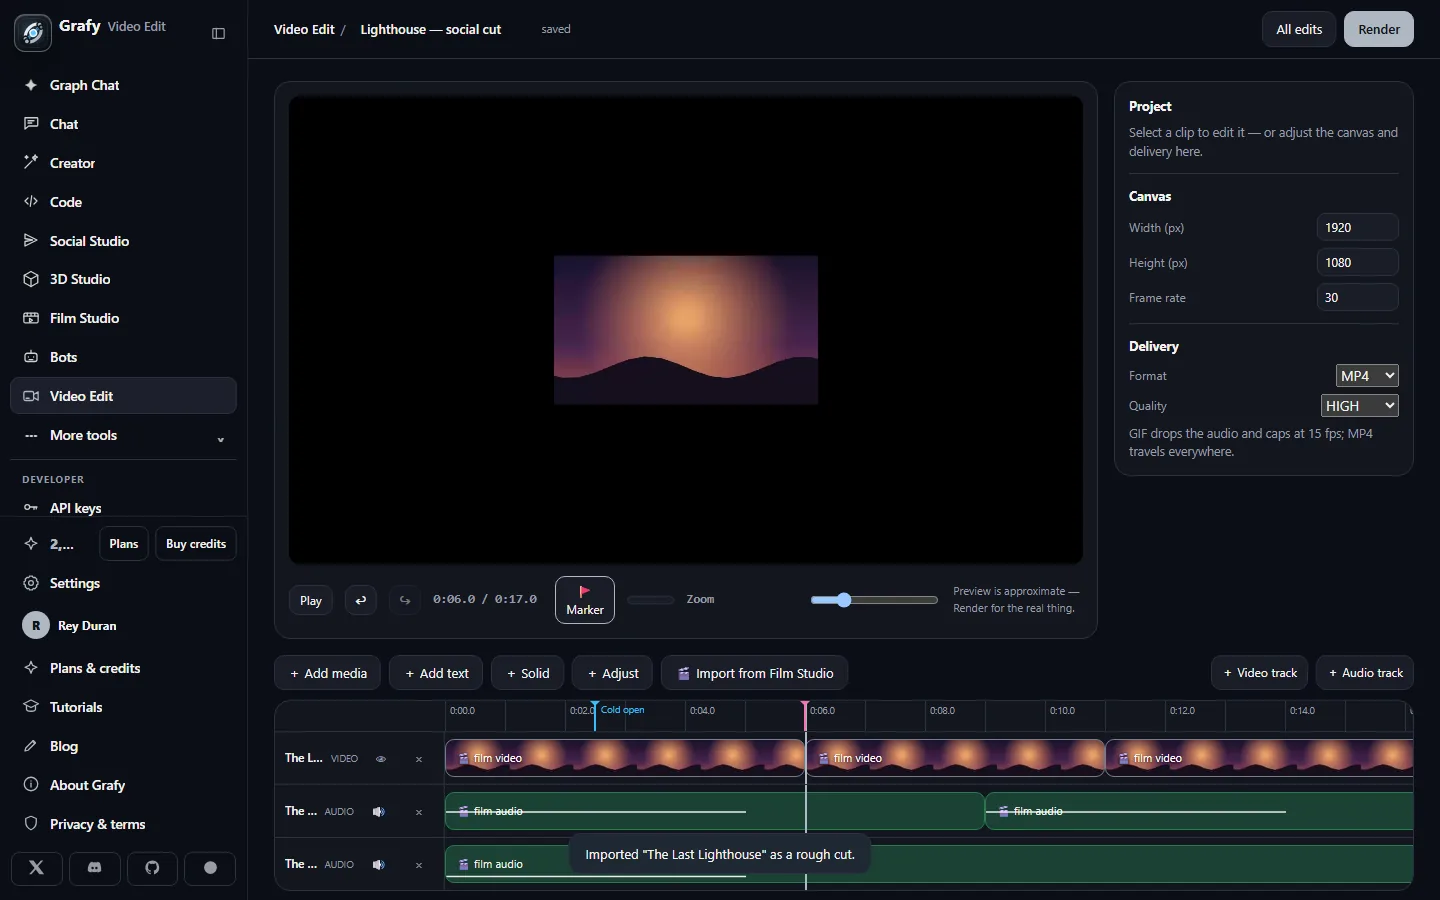
Canvas & delivery live together
With nothing selected, the side panel is the project itself: canvas size and frame rate, and how the render is delivered — MP4, WebM or GIF at three quality levels.
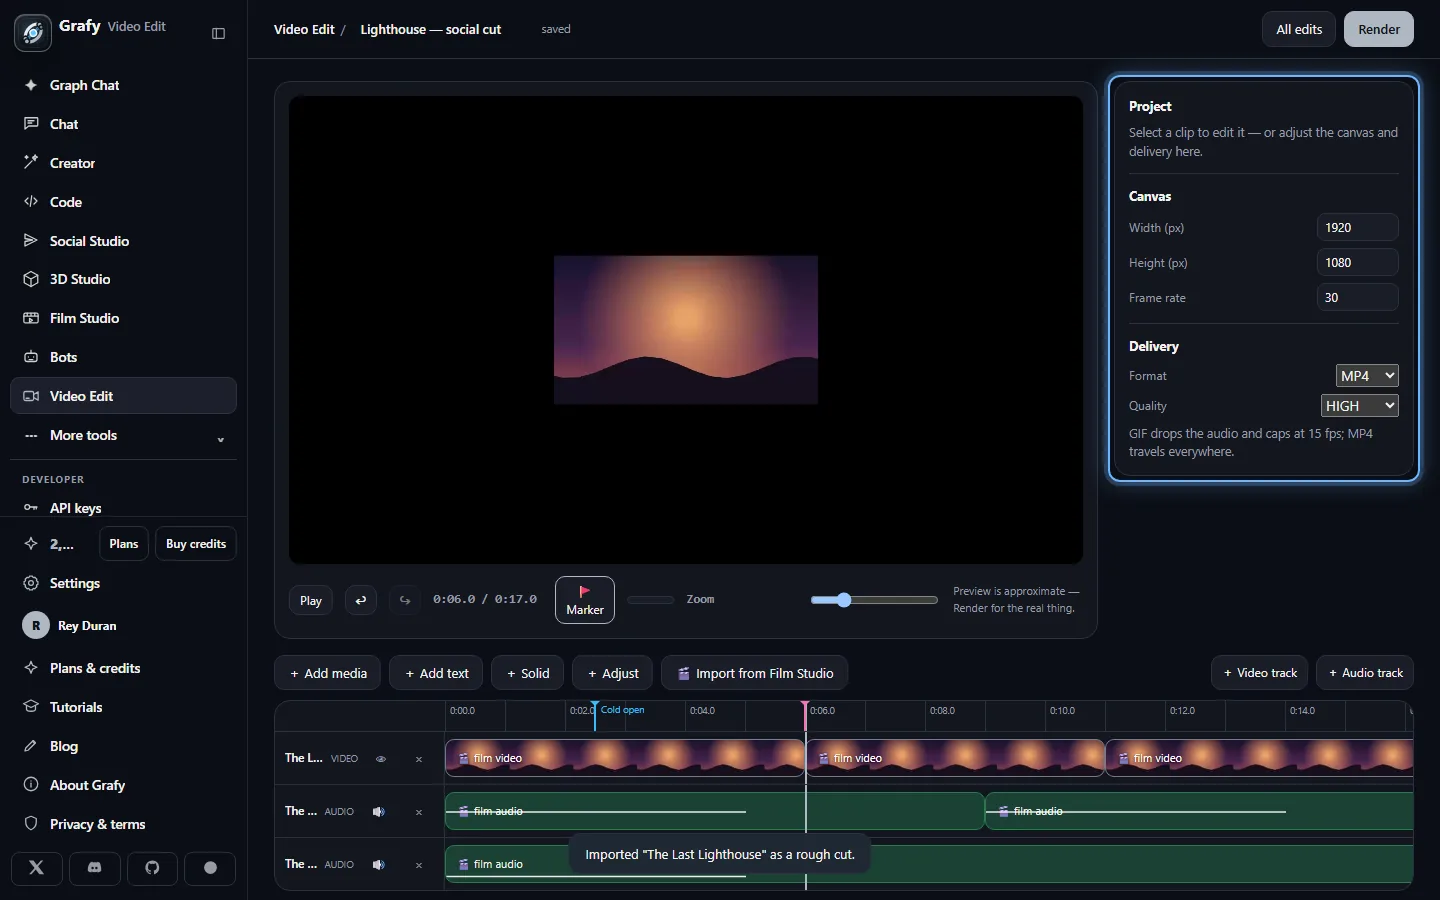
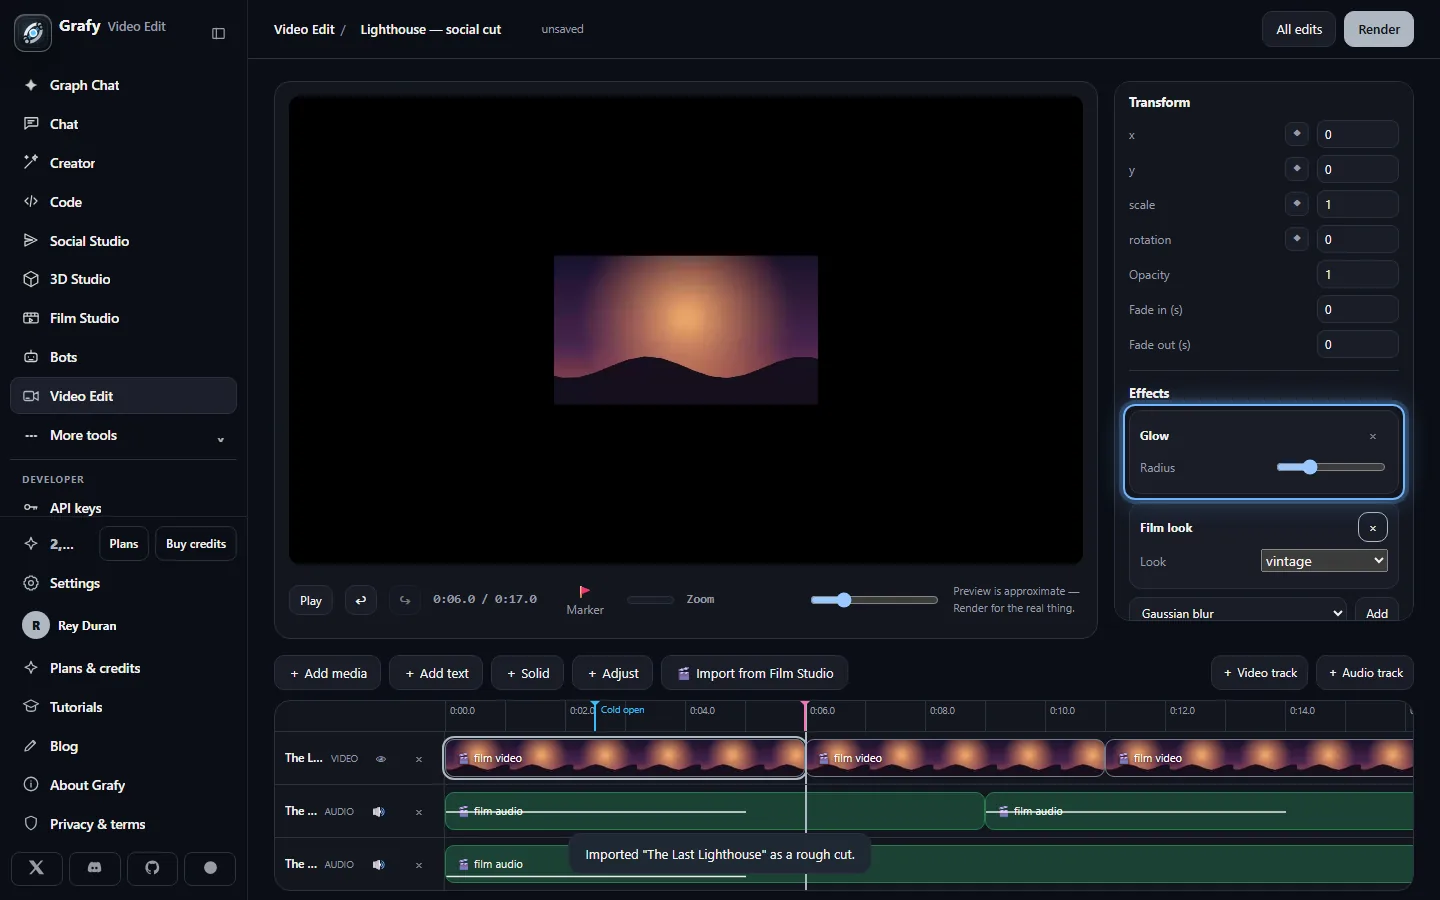
Stack effects on a clip
Select a clip and add effects in order: glow, film-look grades, grain, chroma / luma key, blur, warmth and more — each with its own sliders, previewed live where the browser can and rendered exactly by the compositor.
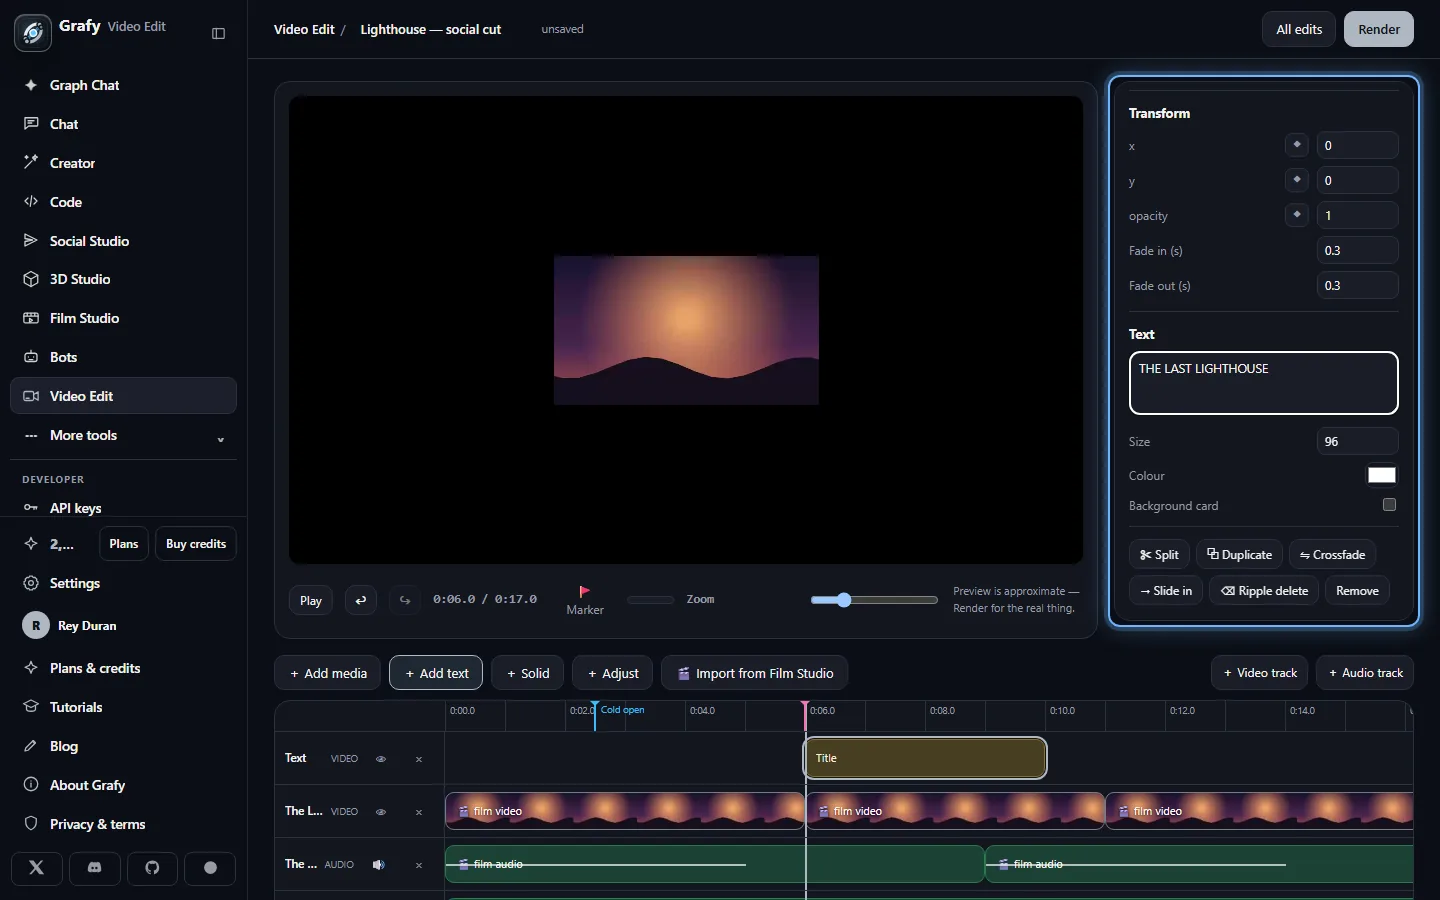
Title layers
Add text drops a title on its own top track: content, size, colour, an optional background card — and fully keyframeable position and opacity.
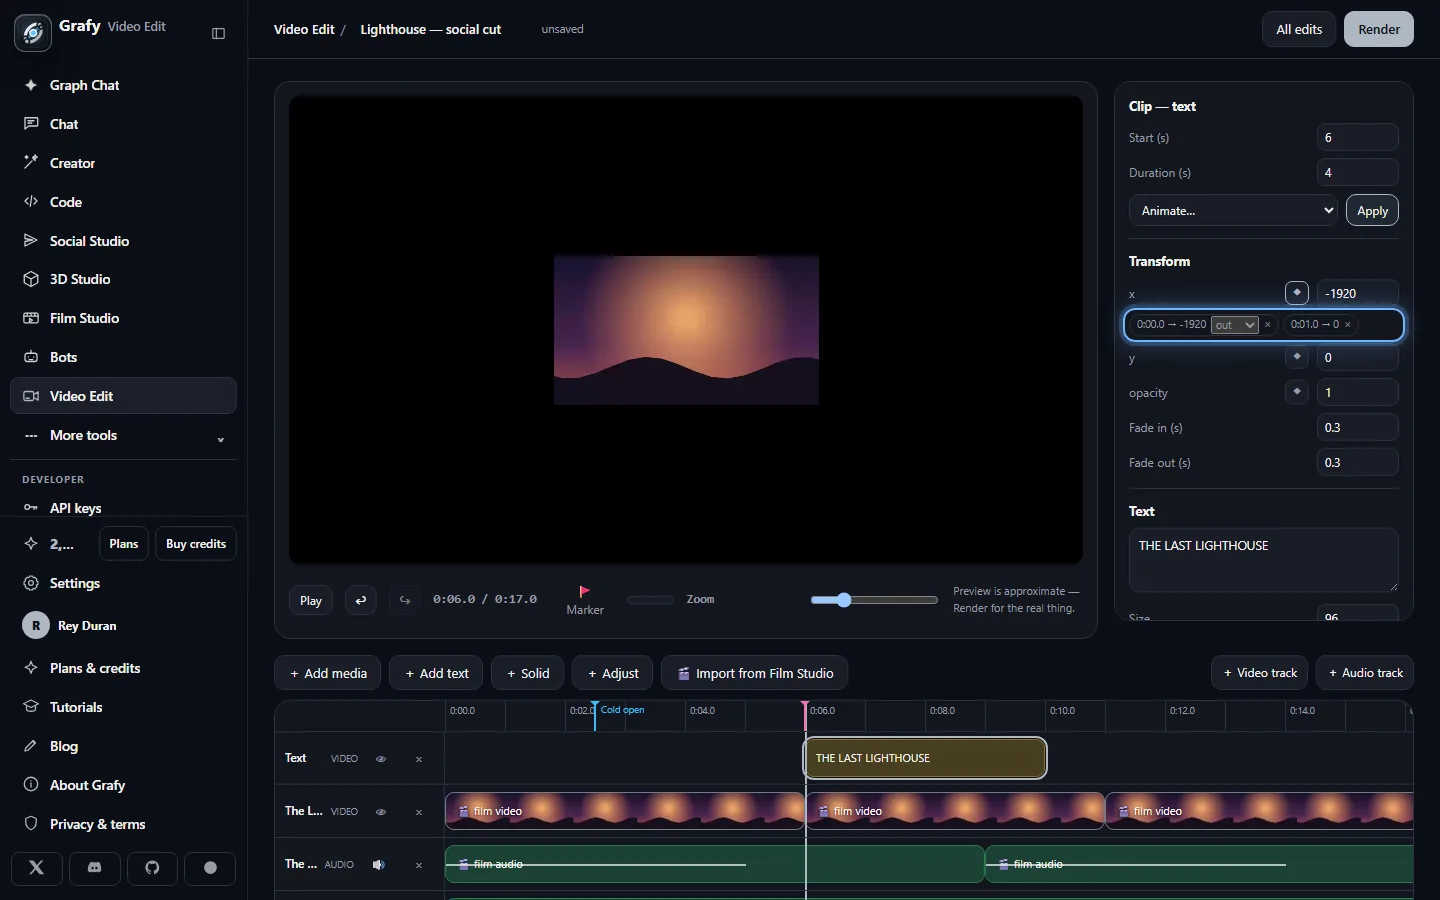
Animate with one click — or by hand
The Animate… presets write the keyframes an animator would set by hand: slides, zooms, spins, pops and Ken Burns drifts. Every keyframe shows as a chip with its own easing curve; the ◆ button sets one at the playhead for any property.
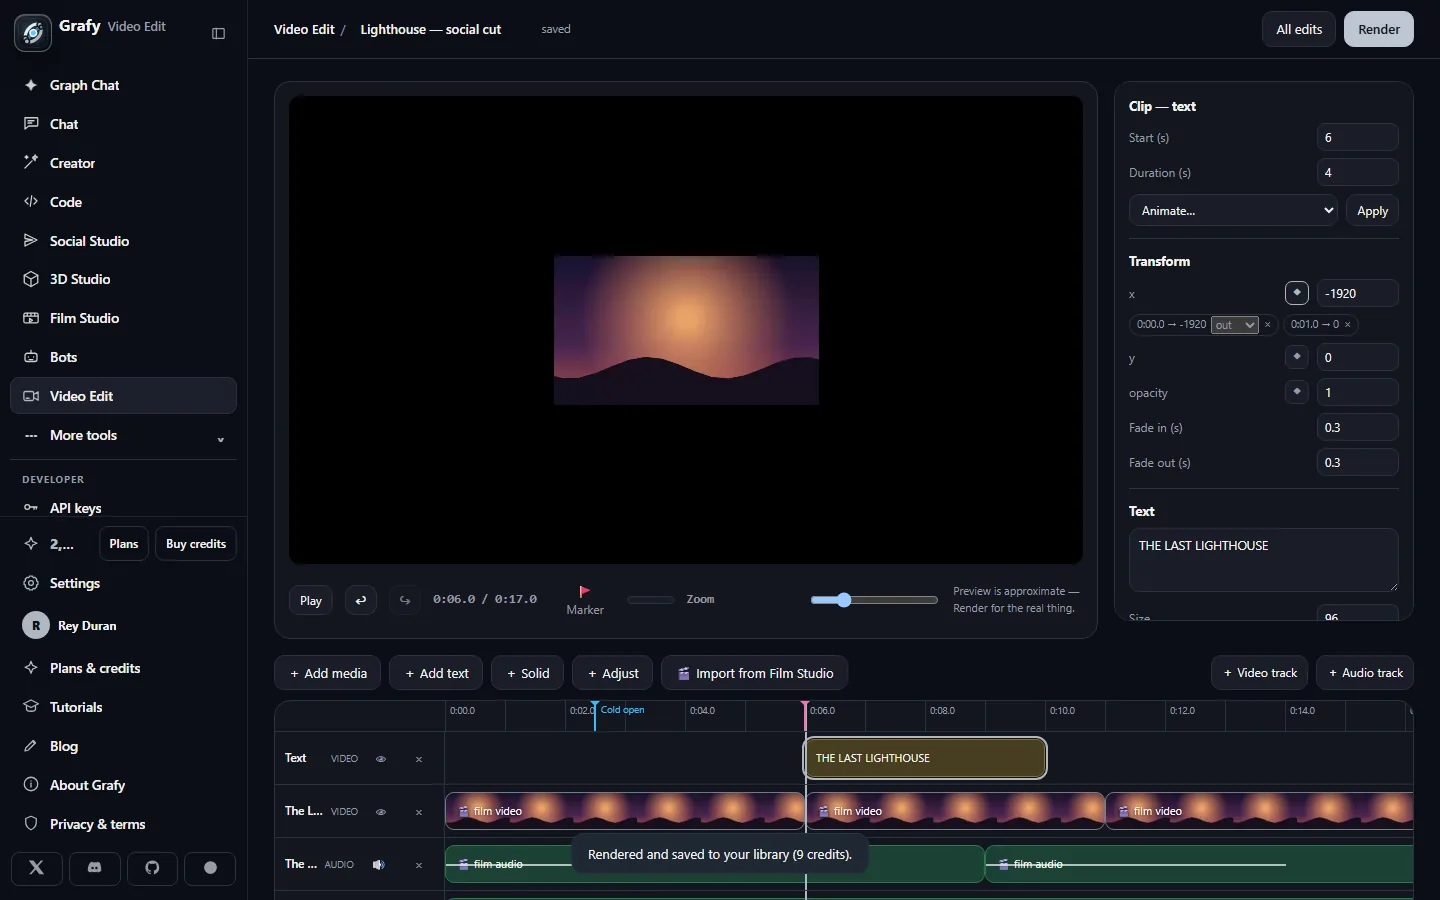
Render — into your library
One ffmpeg pass renders the whole stack. The result is an ordinary asset in your library: pick it up in Graph Chat, Social Studio, or anywhere else in Grafy.
Pin a layer to something moving
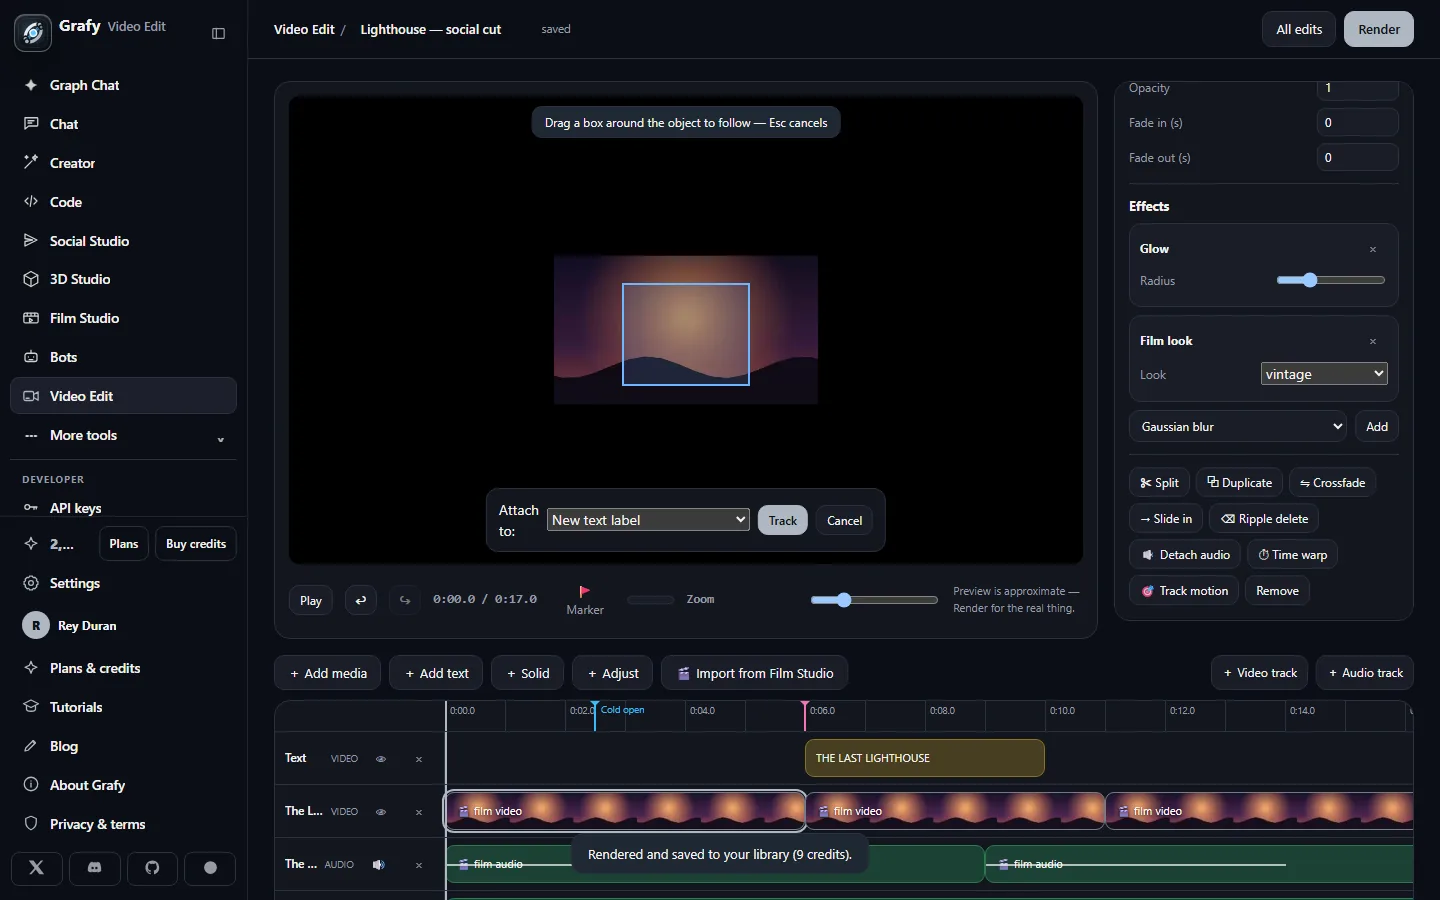
Track motion: drag a box around anything in a clip and the server follows it through the footage, handing back a motion path that lands as position keyframes on a layer of your choice — an existing one, or a fresh text label placed right beside the object.
Going deeper
The timeline
Tracks stack the way they are listed — the first track is the top layer. Each track hides (video) or mutes (audio) with one click and renames on double-click. Clips snap magnetically to each other's edges, the playhead and zero; ✂ Split razors at the playhead keeping animation continuous across the cut, ⧉ Duplicate appends a copy, and ⇋ Crossfade overlaps a clip with its predecessor and fades across the join — on audio a true constant-power sound transition. Audio levels mix Premiere-style: drag the rubber band on the clip for gain (with a live dB readout), double-click it for volume keyframes, drag the top corners for fades. Video layers render silent by design — 🔉 Detach audio copies a video clip's own soundtrack onto an audio track in sync, where it mixes like any other audio clip. ⌫ Ripple delete (Shift+Delete) removes a clip and pulls everything after it left. Markers pin moments on the ruler: press M (or the 🚩 button) to drop one at the playhead, drag it to move, double-click to name it, Alt+click to remove, Shift+M to jump to the next one — and clip edges snap to them. Space plays, arrows step frames, Delete removes, Ctrl+Z / Ctrl+Y walk the history.
Keyframes & easing
Position, scale and rotation animate on every visual layer (opacity on text; volume on audio). Each keyframe carries the easing for the ride to the next one — linear, ease-in, ease-out or smooth — and the stage preview interpolates with exactly the maths the renderer uses, so what you scrub is what you get. Fades handle video-layer opacity: between two overlapping clips, a fade-out over a fade-in is a cross-dissolve.
Effects & blend modes
The effect chain runs per clip, in the order you stack it: blur, sharpen, brightness / contrast / saturation, hue, black & white, sepia, invert, vignette, gamma, warmth, film-look grades (vintage, cross-process, contrast curves), glow, temporal film grain, chromatic aberration, pixelate, mirror and flip. Chroma key pulls green screens, colour key flat graphics, luma key darkness. Blend modes — screen, add, lighten, difference, multiply — decide how a layer meets the canvas, which is how light wraps, double exposures and tint washes are built. And + Adjust drops an adjustment layer: a clip with no pixels of its own whose effect stack grades every track below it for its span — one film look over a whole passage instead of the same effect copied onto ten clips.
Motion tracking
Select a video clip, hit 🎯 Track motion and box the object at the playhead. The tracker follows it (classical template matching — no cloud model, a couple of credits) and writes the path as x/y keyframes relative to where the target layer already sits: put a caption beside a runner at the first frame and it stays beside them the whole way. Attach to any visual layer, or let it mint a labelled text card for you.
Reverse & time warp
Every video and audio clip has a Reverse toggle — footage runs backwards, sound plays reversed in the render (the live preview scrubs the mirrored frame; browsers cannot play backwards). ⏱ Time warp turns a clip into a speed ramp — fast in, slow motion through the middle, fast out — as three source-continuous segments you can then retime individually, with later clips on the track rippled to make room. → Slide in adds the other classic transition beside Crossfade: the clip slides in over the end of its predecessor on eased keyframes.
Titles & solids
Text layers draw with an outline and an optional background card that hugs the words at any size — a lower third in two clicks. Solids are colour cards: scale one down for a bar behind a title, tint the whole frame through a blend mode, or use one as a backdrop. Both are generated at render time — no files involved.
The library & Film Studio, both ways
Add media opens the shared asset picker: anything already in your library, or files from disk which are saved into it on the way through. A film import stays referenced — re-render a shot in Film Studio and re-import, and nothing heavy is duplicated. Renders land back in the library, so an edit cut here can be posted from Social Studio or examined in Graph Chat without any exporting.
Delivery
MP4 (H.264 + AAC) travels everywhere; WebM (VP9 + Opus) suits the open web; GIF drops the audio, caps at 15 fps and lands in your library as an image. Three quality levels trade file size against fidelity. Silent edits still ship an audio stream, so every player treats the render as an ordinary video.