Layers, keyframes and a real timeline — in the browser
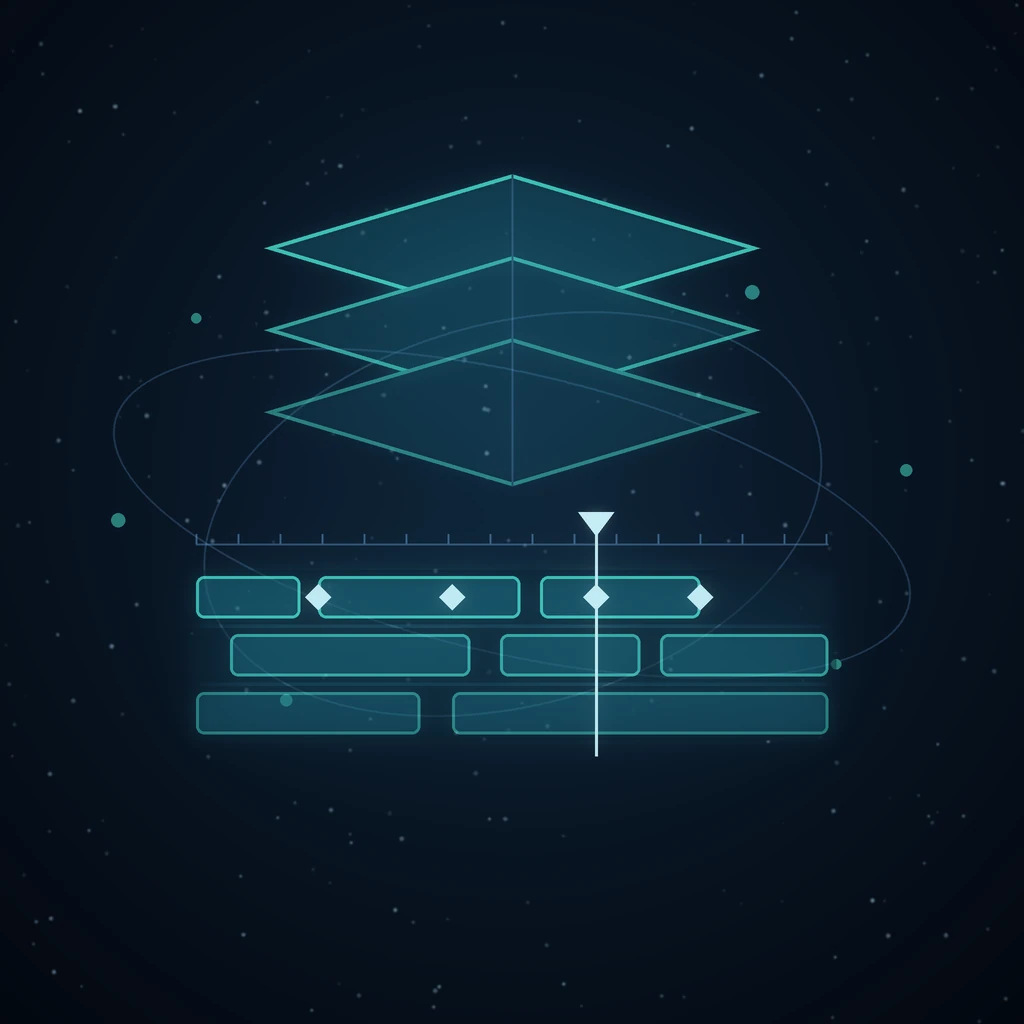
Generating a clip is the easy half. Cutting several of them together, putting a lower third on one, grading the lot and getting a deliverable out is where creation usually leaves for another app. Video Edit is that app, on the same canvas and the same asset library as everything else you made here.
A rough cut you did not have to assemble
Import from Film Studio brings a film's rendered shots in end to end on a video track, each scene's narration lined up beneath it, and the score — when one was generated — on a third track, already ducked under the voice. The clips reference the film's own renders, so nothing heavy is copied and re-importing after a re-render stays cheap.
Editing that behaves like an editor
Edges snap magnetically to other clips, the playhead and your markers. S splits at the playhead and keeps keyframed motion continuous across the cut; Shift+Delete ripple-deletes and closes the gap. Crossfade overlaps a clip with its predecessor — a true constant-power fade on audio tracks. Audio mixes Premiere-style: drag the rubber band for gain with a live dB readout, double-click for volume keyframes, drag the top corners for fades. Adjustment layers grade every track below them for their span, and Ctrl+Z walks the whole history.
Keyframes, with the easing shown
Animate… presets write the keyframes an animator would set by hand — slides, zooms, spins, pops, Ken Burns drifts — and the ◆ button sets one at the playhead for any property. Every keyframe is a chip carrying the easing for the ride to the next one, and the preview interpolates with exactly the maths the renderer uses.
Effects, keys and things that move
Blur, grades, glow, grain, chromatic aberration, vignette and the rest stack per clip in the order you choose. Chroma key pulls green screens, colour key flat graphics, luma key darkness; blend modes decide how a layer meets the canvas. Track motion follows anything you draw a box around and hands back position keyframes relative to where your layer already sits — so a caption placed beside a runner stays beside them. Clips reverse, and time warp turns one into a speed ramp.
The render is just another asset
One ffmpeg pass renders the stack to MP4, WebM or GIF, and the result lands in your library like anything else — ready to post from Social Studio or question in the graph.
Open Video Edit, or read the Video Edit walkthrough.
Read next
More from the Grafy blog.

Deep research from one link: a cited report on the graph
Give Grafy a question and one starting link. It crawls the pages that matter, writes a report that cites every claim by number, and files it as a node.
Two AI hosts, one topic: a podcast from your own notes
Grafy writes a two-host conversation on any topic, grounds it on the note you have selected, voices each host in its own preset and saves one audio node.

How to Compress GLB Files for Web and AR
Compress GLB files for web and AR: reduce mesh complexity, understand texture limits, compare the result, and test loading and appearance on real devices.