AI Image to 3D Printing: From Photo to STL
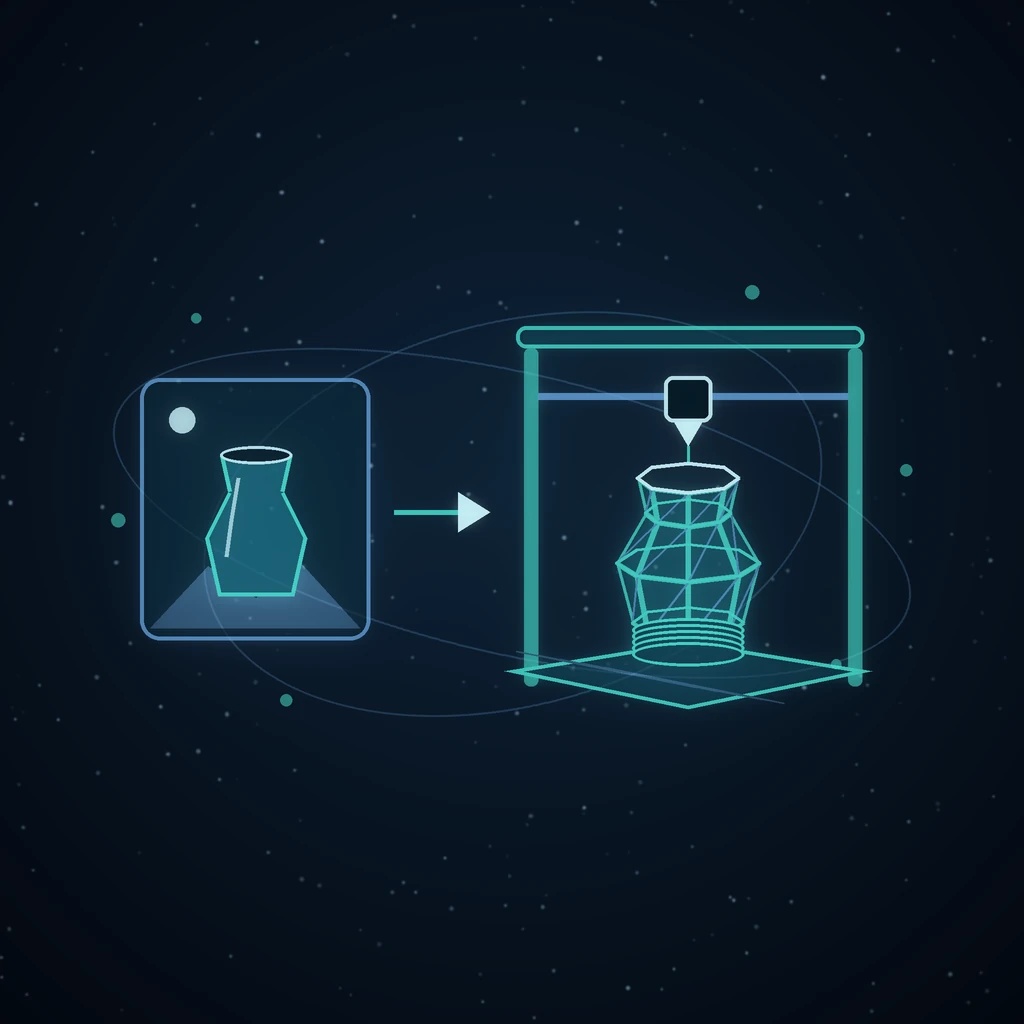
An AI-generated model can look convincing on screen and still fail in a slicer. A painted line may have no depth, a handle may float beside the body, and a closed-looking base may contain a hole. The useful workflow is to generate a shape, inspect its geometry, check it, and only then prepare the print.
Why AI-generated 3D needs a printing workflow
Image-to-3D research increasingly models appearance as well as shape. Microsoft's TRELLIS.2 project describes textured assets with roughness, metallic properties and transparency, and supports open surfaces and complex topology. That is valuable for digital assets. It also illustrates why a realistic render does not establish that the same object is a printable solid.
For a small desk ornament, you need connected geometry at a sensible physical size. A thin fin that looks elegant in a preview may be fragile when reduced to a few centimeters. A metallic highlight will disappear when the object is printed in plain filament. Judge the mesh as an object you could hold, including the underside and the parts hidden in the reference photo.
Choose a photo that explains the silhouette
Start with one clearly separated object, visible edges and even lighting. A three-quarter view often exposes more useful shape than a tightly cropped front view. Keep the entire object in frame, including its base. Avoid transparent surfaces and dense backgrounds for an initial experiment because they make the intended boundary harder to interpret.
For a first print, favor a squat figure, a simple relief or an ornament with a broad base. Fine hair, wire spokes and overlapping fingers create much harder geometry questions. If you are drawing the reference yourself, Grafy's sketch-to-3D tool provides a route from a sketch toward generation. A sketch is still a reference, so inspect the resulting shape rather than assuming every drawn line became a solid feature.
Generate a model and keep the original GLB
Use the image-to-3D workflow available in 3D Studio, then download the generated model. Model availability and generation cost depend on the selected provider; check the offered model and credit estimate before running it. This guide does not require a particular research model to be present in the catalogue.
Keep the original GLB alongside your reference image. It can carry the visible materials as well as the geometry, making it useful for comparing later versions. Give each revision a descriptive name such as owl-original.glb or owl-wide-base.glb. The existing guide to turning a photo into an editable 3D model explains the broader editing workflow; this guide concentrates on the checks before printing.
Inspect the model from every direction
Open the file in the free 3D viewer. Rotate underneath the base and behind projections. Look for disconnected pieces, unexpected cavities and details that only exist as painted textures. A dark stripe can imply a groove in the rendered image without changing the physical surface at all.
Also check how the object stands. A rounded underside may need a redesigned base, and a long horizontal feature may demand a different print orientation. These are design decisions you can catch before spending time on repair. If you create an alternative in Grafy, preserve the earlier version so that a visually appealing change can be compared against its effect on the actual shape. Keeping a reproducible workflow makes that comparison easier to revisit.
Read the printability report as a checklist
Grafy's 3D printability checker inspects mesh properties such as watertightness, open edges, winding and separate parts. Use a self-contained GLB for this workflow. The current checker is a signed-in tool, accepts uploads up to 64 MiB, and does not charge generation credits for the geometry check.
Watertightness asks whether the surface closes; winding concerns the orientation of its faces. Loose parts may be intentional pieces or accidental fragments. None of these fields tells you whether a narrow ankle will survive handling. The current check does not replace wall-thickness analysis, support planning or a printer-specific slicer preview. Its material estimates also depend on the dimensions and settings you enter.
If a report identifies a problem, change one thing at a time and check again. Keep a note of what changed: closing the bottom is different from merging two disconnected components. A clean-looking viewport alone is not a reason to ignore an unresolved geometry warning.
Work through an 80 mm owl example
This is an illustrative exercise, not a tested print or a measured generation result. Start with a drawing of a rounded owl with its wings against its body and a wide, flat base. If your chosen generation workflow accepts a written instruction, use: “Small owl ornament, compact body, wings joined to the sides, broad flat base, no floating parts.”
Generate the model, save owl-original.glb, and inspect the underside and wing connections. In the checker, enter 80 mm for the longest side and use 20% infill as an example estimate setting. Longest side does not necessarily mean height: if the owl is wider than it is tall, the width is the dimension being scaled to 80 mm.
Write down the reported dimensions and any mesh warnings. If a wing is detached, revise or repair that connection and check the new version. Do not interpret the example infill value as a recommendation for every material or printer. The final infill, walls and supports belong in your slicer, where you can inspect the actual toolpaths.
Convert GLB to STL after checking the geometry
The free 3D converter can export STL from a supported, self-contained GLB or glTF file in your browser. Choose the checked revision and download its STL. An STL carries the triangle surface; it does not preserve the GLB's painted appearance, material settings or animation.
Conversion changes the representation of your geometry. It does not automatically close every hole, strengthen thin features or certify a successful print. Reopen the STL in your slicer and check its dimensions rather than assuming an export preserved your intended millimeters. Keep the GLB too, because it remains the useful source for visual comparisons and future editing.
Repair and slice before sending anything to the printer
Prusa's guide to corrupted 3D models describes repair workflows for problematic meshes. Repair tools can help, but inspect their output: closing a surface may also fill an intended opening or change a small feature. When an automatic repair changes the character of the object, editing or regenerating the source may be the clearer route.
In your slicer, set the actual size, select the appropriate printer and material profile, and inspect the layer preview. Look for missing sections, isolated islands and places where a thin feature disappears between layers. Choose orientation and supports deliberately. For an unfamiliar design, a small test can expose geometry or handling problems before you commit to a longer print.
When CAD or scanning is the better starting point
An image-to-3D workflow is useful for exploring organic shapes and decorative concepts. For a replacement bracket, mating thread or precisely dimensioned enclosure, measured CAD geometry gives you direct control over the dimensions that matter. A photograph by itself does not supply those dimensions.
Scanning or photogrammetry can be useful when you need to capture an existing object's visible shape from multiple views. Each route still needs inspection and preparation. Choose by the job: an expressive owl ornament and a component that must fit a known screw are different modeling problems. You can use branching and comparison to keep alternative designs organized without confusing the approved version with an experiment.
Frequently asked questions
Can I turn any photo into a printable STL?
You can use a photo as a starting reference, but there is no guarantee that every image will produce usable geometry. Occluded surfaces, transparent objects and thin details are especially difficult to assess from one view. Generate a model, inspect and repair it where necessary, convert it to STL, and review the layers in a slicer before printing.
Is converting GLB to STL enough to make a model printable?
No. Conversion exports the triangle surface in another file format. It does not establish that the surface is closed, that the parts connect, or that features are thick enough at the intended size. Check the original geometry and the exported STL, then use the slicer's layer preview to assess the actual print preparation.
Which parts of this Grafy workflow are free?
The public 3D viewer and converter run in your browser without an account. The printability checker requires sign-in but does not charge generation credits for its geometry analysis. Generating or editing a model through an AI provider is a separate operation with its own availability and credit cost, shown in the generation workflow.
Will the colors in my AI model appear in an STL print?
The STL export does not carry the source GLB's texture maps or material appearance. Plan the print around its geometry and your printer's material workflow. If a visible feature exists only as a painted mark, it will not become raised or recessed detail merely because you export the model to STL.
Does a watertight result guarantee a successful print?
It establishes one useful property of the surface, not the whole manufacturing outcome. Orientation, support, wall thickness, material, scale and printer settings still matter. Grafy's checker is a preliminary geometry check; review the exported file and the generated layers in your slicer before treating the model as ready for a particular printer.
Inspect your generated model in the free 3D viewer, then take the checked revision through conversion and slicing.
Read next
More from the Grafy blog.

Deep research from one link: a cited report on the graph
Give Grafy a question and one starting link. It crawls the pages that matter, writes a report that cites every claim by number, and files it as a node.

Two AI hosts, one topic: a podcast from your own notes
Grafy writes a two-host conversation on any topic, grounds it on the note you have selected, voices each host in its own preset and saves one audio node.

How to Compress GLB Files for Web and AR
Compress GLB files for web and AR: reduce mesh complexity, understand texture limits, compare the result, and test loading and appearance on real devices.